


If you've ever stared at a pile of fresh-picked garden goodies and thought, “How am I going to eat all this before it turns into compost?” — you’re not alone.
In the world of bushcraft, preparedness, and sustainable living, preserving food isn’t just smart. It’s survival-savvy. And one of the best, low-tech, eco-friendly ways to do that is by learning how to make a solar dehydrator.
Whether you're stockpiling for SHTF scenarios, trying to cut down on food waste, or just into DIY homesteading projects that would make your great-grandpa proud, a solar dehydrator belongs in your prepper toolkit.
So grab your tools, tighten your flannel shirt, and let’s dive into the art and science of solar food dehydration for long-term storage — bushcraft style.
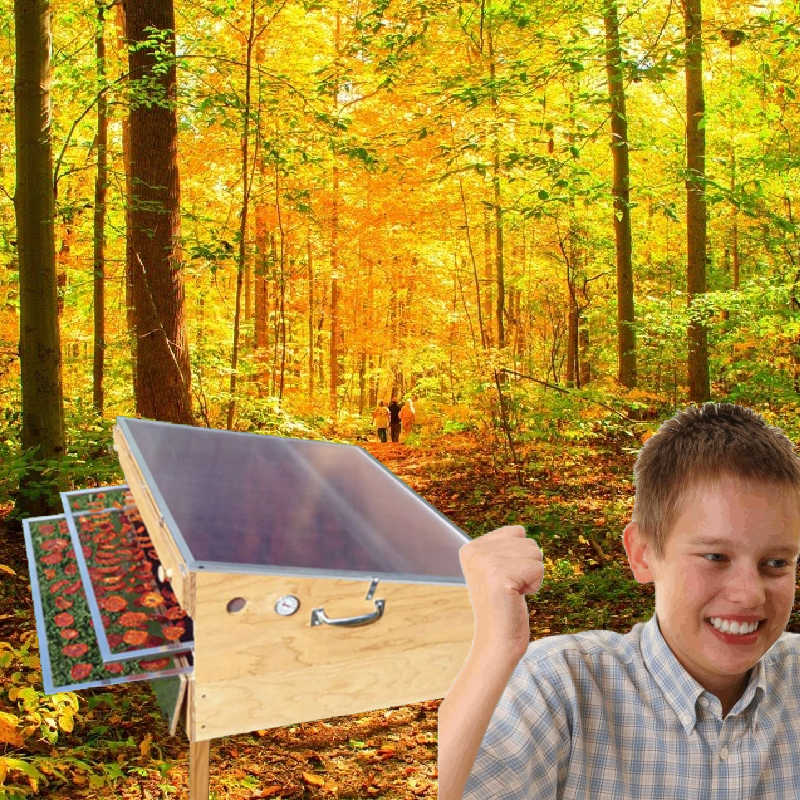
A solar dehydrator is a simple device that uses the sun’s radiant energy to remove moisture from food, extending its shelf life without needing electricity or refrigeration.
Think of it like nature’s air fryer — minus the fan and the electrical bill.
These nifty contraptions harness passive solar heating, ventilation, and airflow to dry fruits, vegetables, herbs, and even jerky. They’re a favorite among off-gridders, preppers, homesteaders, and wilderness folks who like their apples crispy and their meat shelf-stable.
Besides being eco-friendly and free to run, solar dehydrators are:
Silent and off-grid friendly (because zombies don’t like noise)
Ideal for long-term food storage
Cost-effective (no utility bills or fancy parts)
Low-maintenance and highly portable
Perfect for survival scenarios and remote living
In short, they’re your ticket to self-sufficiency when modern conveniences take a nosedive.
Here’s where we get a little geeky — but stick with me.
Dehydration works by reducing the water content of food to a level where bacteria, mold, and yeast can’t grow. Moisture is the enemy of preservation. By cutting food’s moisture down to below 15%, you can store it for months or even years, especially if you vacuum-seal or pack it with oxygen absorbers.
Solar dehydrators use:
Radiant heat from the sun to warm the air inside the unit
Convection airflow to carry moisture away
Dark surfaces to absorb heat
Vents or chimneys to ensure proper air circulation
It’s physics with a dash of rustic charm.
Some foods are practically born to be dried. Here's what works best:
Apples
Bananas
Berries
Mangos
Pineapples
Tomatoes
Zucchini
Carrots
Peppers
Green beans
Jerky (beef, venison, turkey)
Fish
Tofu (yes, even tofu lovers are welcome here)
Basil
Oregano
Spinach
Kale
Just remember: slice it thin, keep it even, and rotate trays often.
Time to unleash your inner survival engineer. Building your own solar dehydrator is easier than you think. It’s also way more satisfying than ordering one online.
Whether you’re doing this in a backyard, off-grid cabin, or desert bug-out bunker, this step-by-step guide will get you up and drying in no time.
Here’s your bushcraft shopping list:
Plywood or wooden panels (for the frame)
Clear plexiglass or old glass window (for the solar panel cover)
Black paint (non-toxic, heat-resistant) (absorbs sunlight)
Wire mesh or food-grade screen (for trays)
Wooden slats or metal for tray framing
Hinges & latches (for doors)
Ventilation holes or chimney
Screws, nails, or wood glue
Thermometer (optional but helpful)
Optional Upgrades:
Mosquito netting (for bug-proofing)
Reflective insulation (for better heat retention)
Tilt stand (for solar angling)
Construct a rectangular box using plywood or wood panels. It should be tall enough to stack several trays and wide enough to catch some serious sun. A common size is 2 ft wide by 3 ft tall, with a slanted top for the solar panel.
Paint the inside of the box black to absorb and retain heat. Just don’t use toxic paint — you’re drying food, not seasoning it with VOCs.
Drill intake holes at the bottom and outtake holes at the top. Use mesh or screen to cover them and keep bugs out. This creates the natural airflow system that whisks away moisture.
Build food trays using mesh and wooden frames. Slide them into slots inside the box like shelves. Leave at least 2 inches between trays for air circulation.
The slanted top should be covered with clear plexiglass or a recycled glass window. Underneath it, place a black-painted metal sheet or absorbent material to heat the air as it enters the box.
Add a door on the back or side for easy tray access. Use hinges and a latch. Make sure everything is tight — you want heat and airflow, not rain and raccoons.
Aim it toward the equator (south if you’re in the Northern Hemisphere) and tilt it around 30-45 degrees for maximum sun exposure.
Boom. You’re ready to dry.
Here are some pro-level bushcraft tips for peak performance:
Slice food thin and uniform – 1/4" thick is ideal.
Blanch veggies first to retain color and nutrients.
Don’t overcrowd trays – air needs to flow freely.
Rotate trays daily for even drying.
Use a thermometer – optimal drying temp is 120–140°F (50–60°C).
Dry on sunny days only – no point sunbathing your tomatoes in a thunderstorm.
Once your food is dried, don’t just toss it in a jar and call it a day.
Vacuum-sealed bags
Mylar bags with oxygen absorbers
Glass mason jars with desiccant packs
Food-grade buckets for bulk storage
Dried fruits: 6–12 months
Vegetables: 6–12 months
Jerky: 1–2 months (longer if vacuum-sealed and refrigerated)
Herbs: 1 year+
Pro tip: Always label with the date. Nothing says “surprise” like mystery meat from three summers ago.
Even seasoned preppers make rookie mistakes now and then. Here are the top blunders to dodge:
Using too little sun exposure – food stays moist and molds.
Skipping the bug-proofing – ants love mango slices too.
Overloading trays – airflow suffers, and so does drying time.
Not checking weather forecasts – solar dehydration doesn’t work in the rain.
Failing to pre-treat fruits – apples and bananas will brown without a quick lemon soak.
Building and using a solar dehydrator isn’t just a fun weekend project — it’s a gateway to long-term food resilience, off-grid independence, and zero-waste living. You’re taking nature’s abundance and bottling it for future use, all powered by the same star that grows your food in the first place.
So the next time you harvest a basket of summer tomatoes, pick wild berries in the woods, or stumble across a wild game haul — don’t panic. Dry it. Store it. Be ready.
And hey — if all else fails, at least your fruit leather game will be legendary at the next bushcraft meetup.
At Better Bushcraft, we believe in real skills for real situations. Check out our survival gear, food storage supplies, and DIY bushcraft kits to take your prepping to the next level.
Don’t just survive. Thrive.